
Part 1: The paddle
Steps 1 to 6. You meet the level, add the paddle, see how it moves, and play for the first time.
What this part teaches
Every game needs a stage and a player. The level is the stage. The paddle is the thing the player controls. By the end you will know what the dark blue box is, how to add an object from the library, and that movement is a setting on the object, not a rule.
Step 1: Let's make Chocobreak!
Only reading. The game you are about to make: bounce a ball to smash a wall of bricks. Press Next.
Step 2: This is your level
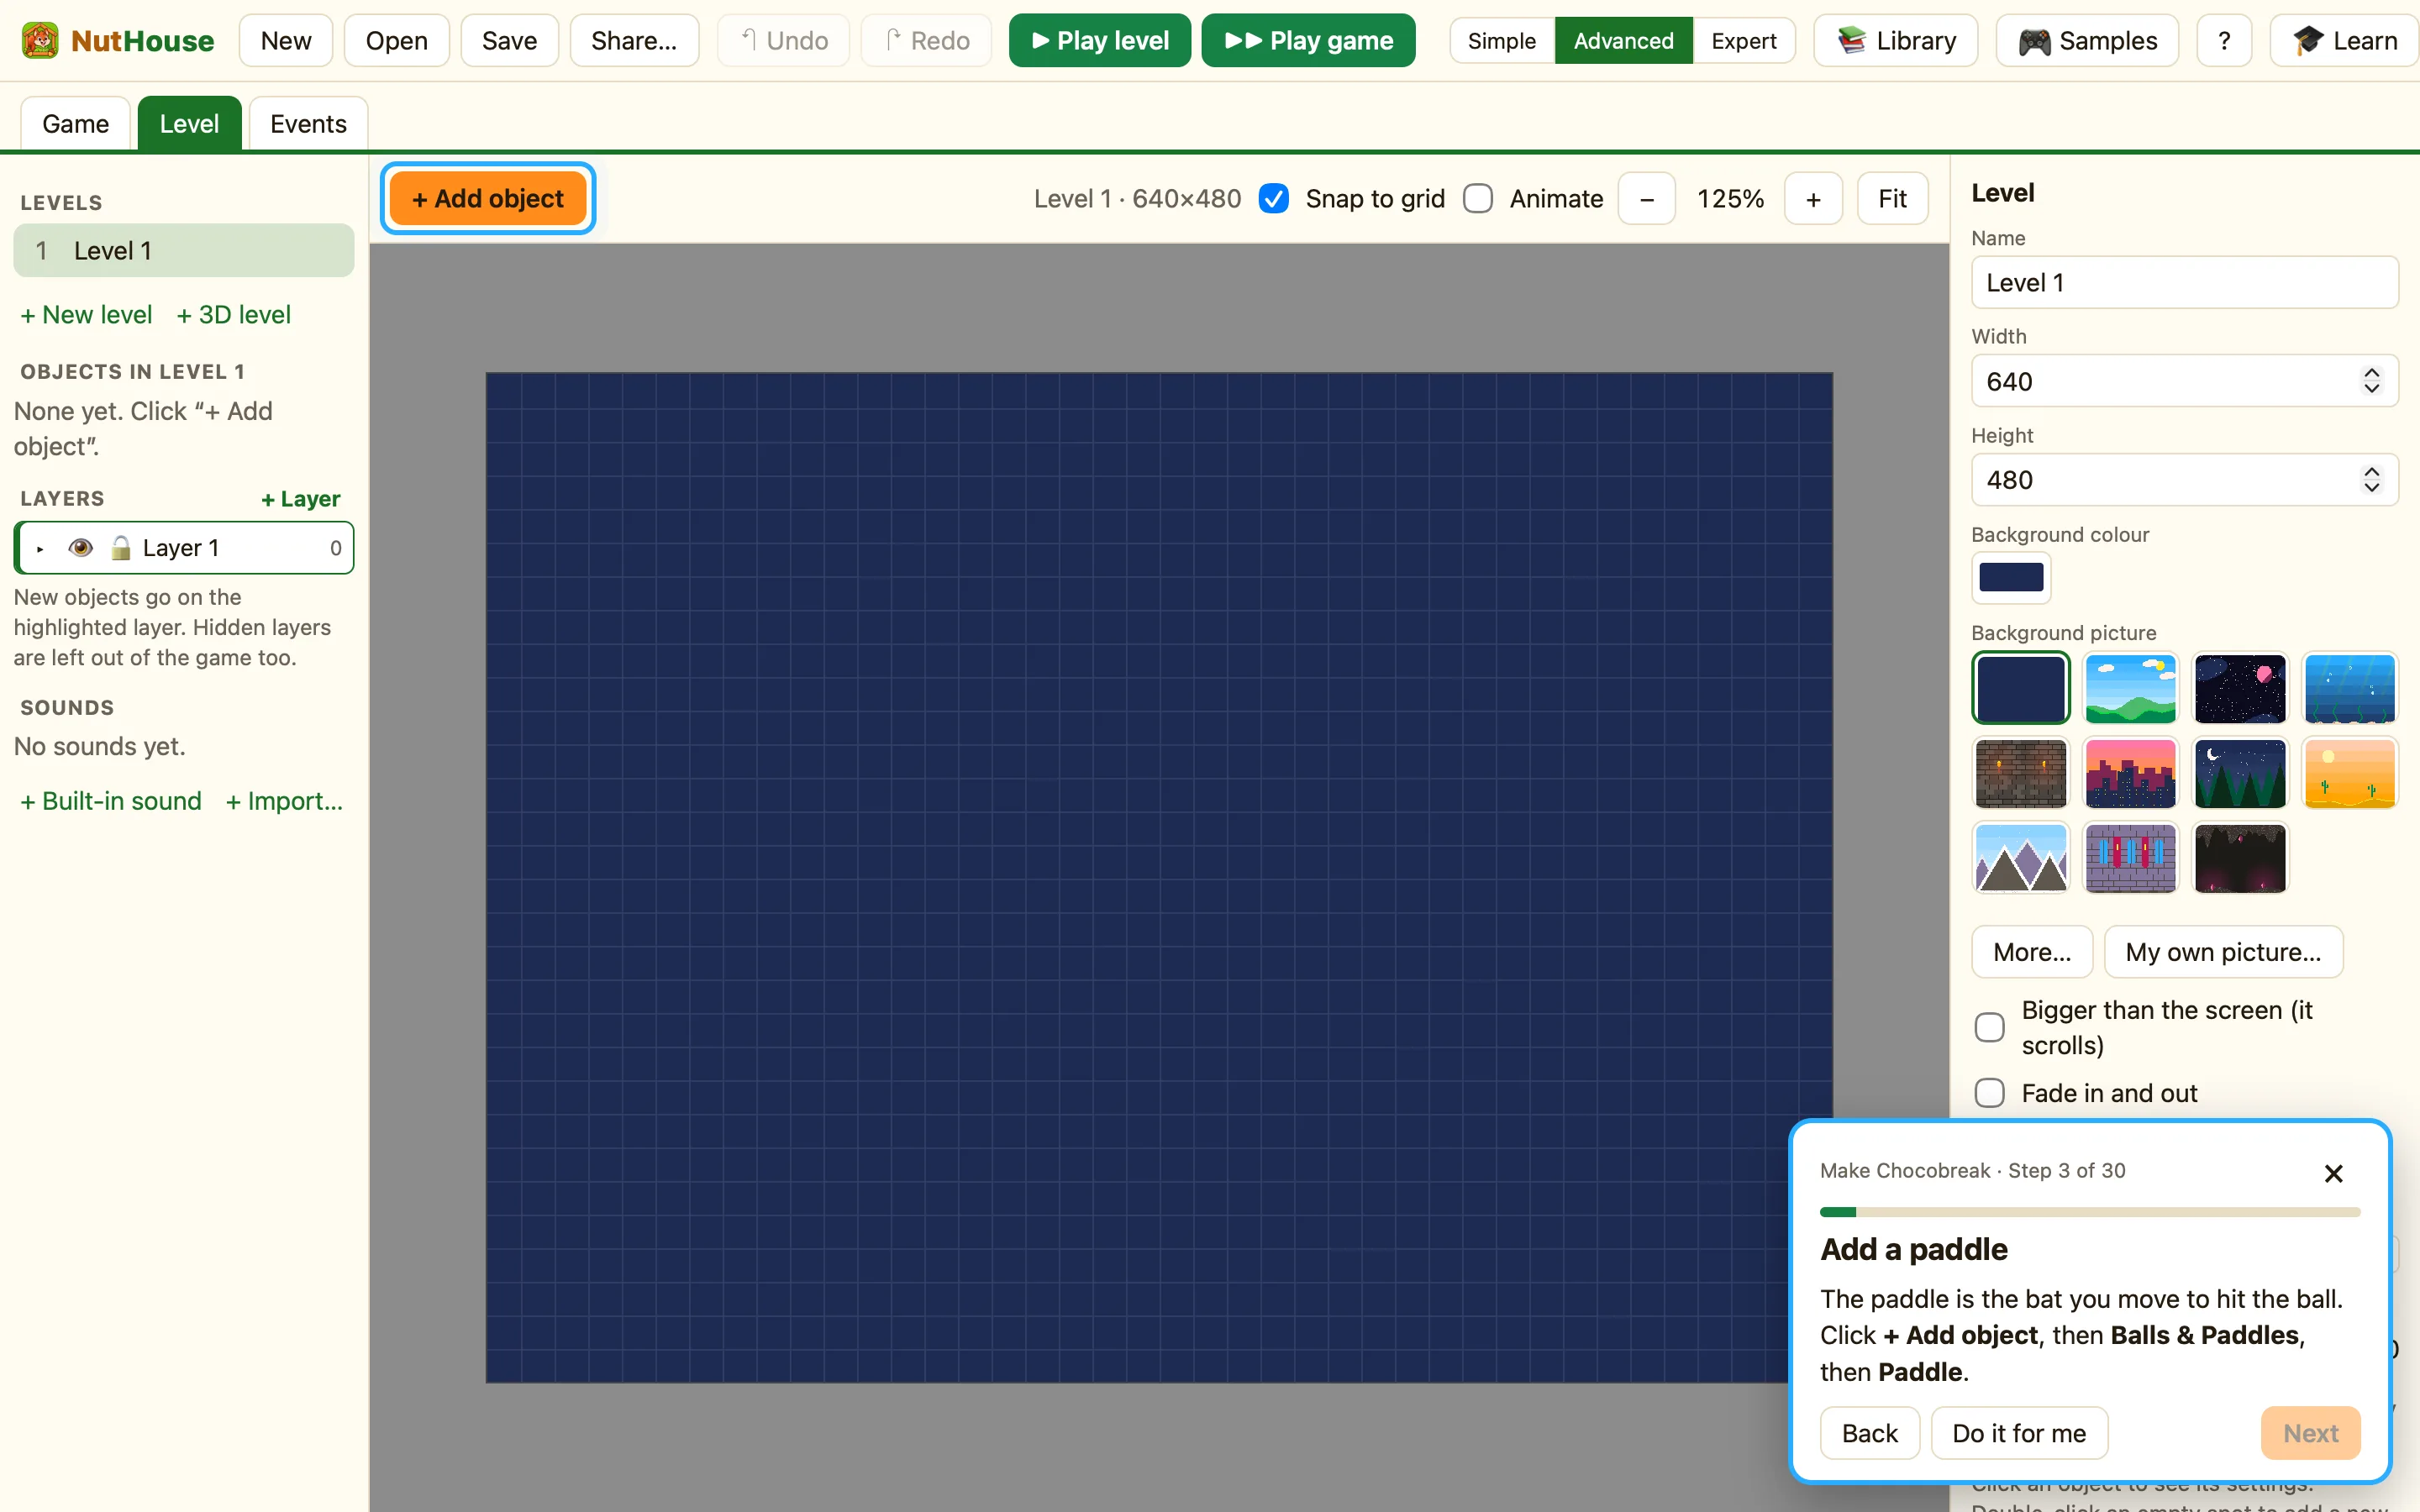
The dark blue box is the level, the stage where your game happens. The grey part around it is off-screen. Players never see it, but you can leave things there.
Step 3: Add a paddle
- Press + Add object.
- Click Balls & Paddles, then Paddle.
The paddle comes from the library. Library sprites arrive with a movement already picked, which is why the next step works without any rules.
Step 4: Move it to the bottom
Drag the Paddle down near the bottom of the level, in the middle. Click and hold on it, move the mouse, then let go. NutHouse checks where you put it.
Step 5: How does it move?
Click the Paddle. Its settings show on the right. Under Movement it says Arrow keys (8 directions), and Left/Right only is picked under Allowed directions. That is why a paddle can only slide sideways. Press Next when you have had a look.
Step 6: Try it!
- Press ▶ Play level, or ⌘R.
- Slide the paddle with ← and →.
- Press Esc to come back.
Next: Part 2: The ball.
